The Widget Tree
The UI of a Tabris.js app consists of native Widgets. These widgets are implemented in native code, and represented by JavaScript objects. Every widget must have a parent to become visible on the screen. You can add a widget to a parent widget using its appendTo method.
The UI Root
The top-level parent for all widgets is represented by the object ui. This object contains a number of fixed children, that represent different parts of the app’s user interface:
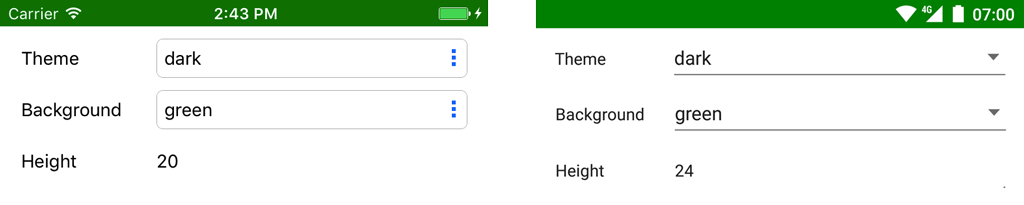
ui.statusBar- shows the time and some system status iconsui.navigationBar- contains the Back, Home, etc. buttons on Androidui.contentView- contains the app’s main UIui.drawer- can be swiped in from the left
Widgets can be added to the content view, and optionally to the drawer.
The Status Bar
The status bar is the small area on the top of the screen that displays notifications, status icons and the time. The object ui.statusBar can be used to control different aspects of its look and feel, such as background color and visibility.
The Navigation Bar
The navigation bar is the area that contains the Back, Home, etc. buttons on Android. The object ui.navigationBar can be used to control its background color and visibility.
The Content View
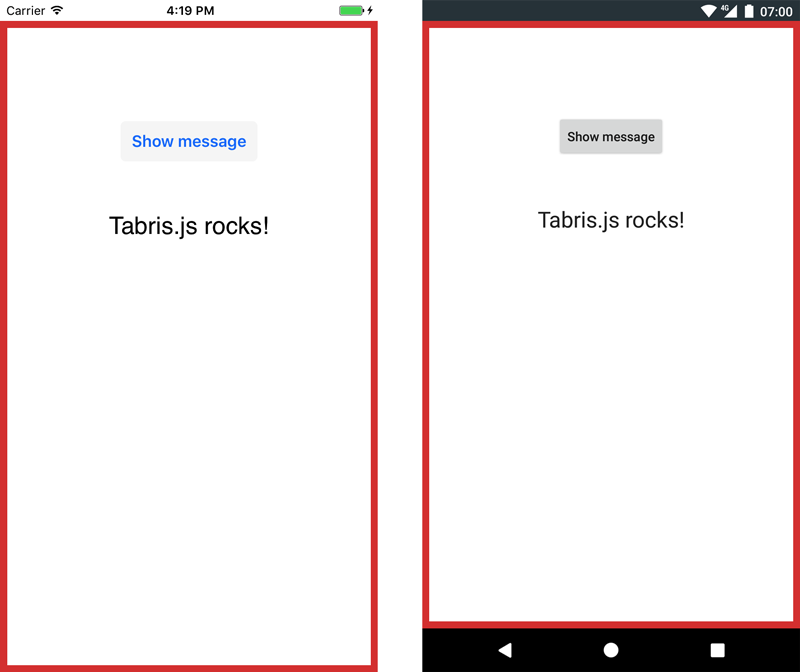
The content view is the container for the widgets that constitute the app’s main UI. It covers the entire app area. Widgets can be appended directly to the content view.
new Button({
  left: 16, top: 16
}).appendTo(ui.contentView);
The Drawer
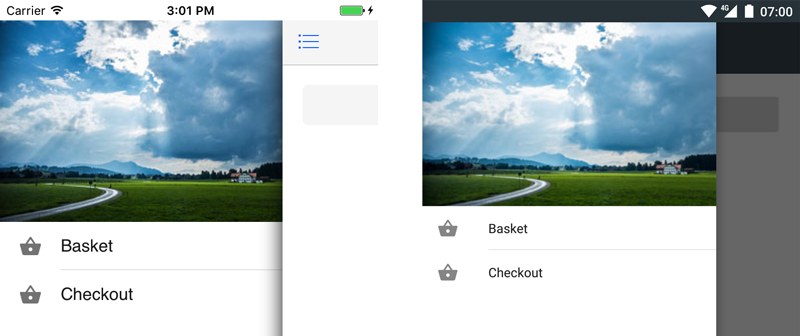
The “drawer” is a common component of mobile applications. It’s a container that can be slid in from the left edge of the screen, often used for top-level navigation. In Tabris.js, this drawer is disabled by default. To use it in an application, you have to enable it:
ui.drawer.enabled = true;
The drawer can be opened by a swipe from the left edge of the screen or by tapping the action on the left side of a NavigationView (so called “burger menu”). To open and close the drawer programmatically, you can use its open() and close() methods, respectively.
A drawer may contain any kind of widgets:
new ImageView({
  left: 16, top: 16, right: 16,
  image: 'buddy-icon.png'
}).appendTo(ui.drawer);
Navigation Patters
Common navigation patterns for apps are based on pages or on tabs. Both approaches can also be combined.
Using Pages
To implement a page navigation pattern, you can use a full-screen NavigationView. A navigation view contains Pages that are arranged on a stack, so that only the topmost page is visible. A header displays the topmost page’s title and a button to navigate back to the previous page. On Android, the system back button can also be used to navigate back.
let navigationView = new NavigationView({
  left: 0, top: 0, right: 0, bottom: 0
}).appendTo(ui.contentView);
When a new page is appended to the NavigationView, it is put on top and becomes visible:
new Page({
  title: "My Page"
}).appendTo(navigationView);
On back navigation, the topmost page will be removed from the stack and disposed. To prevent pages from being automatically disposed on back navigation you can set its autoDispose property to false. This allows you to re-use the page later on. If you do so, please ensure that pages are disposed when they are no longer needed to avoid memory leaks.
Using Tabs
The main UI of an app can also be organized in tabs. To do so, use a fullscreen TabFolder as top-level container. A tab folder contains Tabs that are displayed at the bottom on iOS and at the top on Android.
let tabFolder = new TabFolder({
  left: 0, top: 0, right: 0, bottom: 0
}).appendTo(ui.contentView);
new Tab({
  title: 'Cart',
  image: 'cart.png'
}).appendTo(tabFolder);